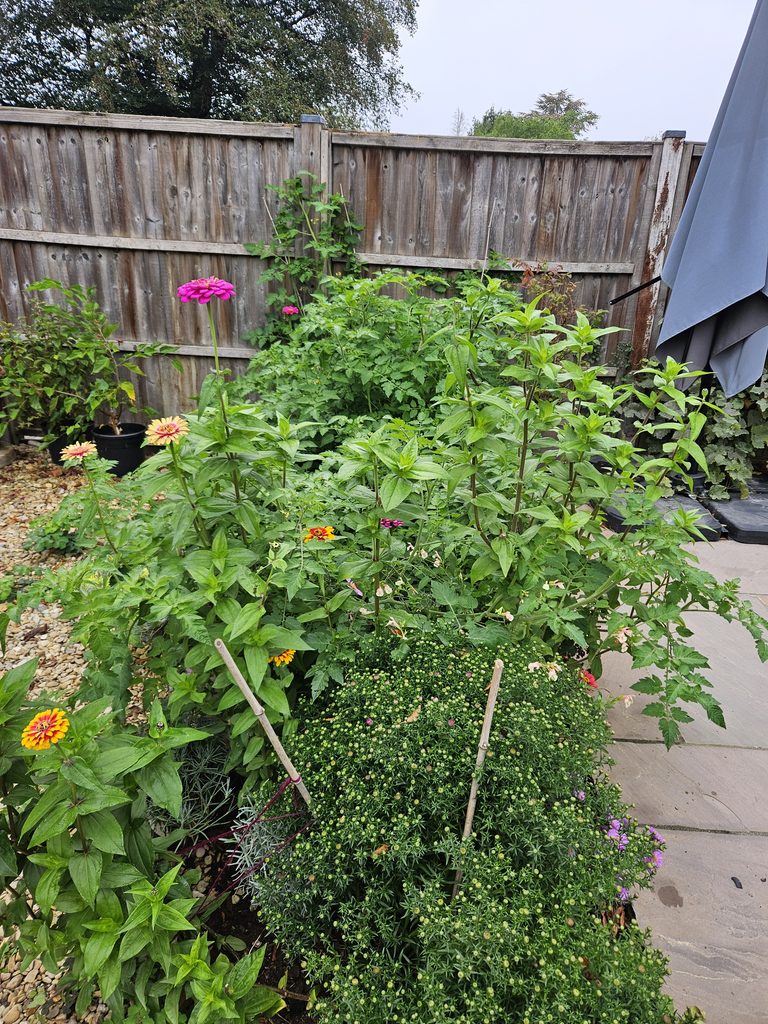


Our Technical Manager, Victoria, explains how she used soil improvement to produce a new garden area.
Reclaiming the Garden: How I Revived the Soil Under an Old Deck
Removing an old wooden deck finally gave me the perfect opportunity to claim back a piece of the garden. However, the soil left behind was a far cry from the rich, crumbly earth in other parts of our garden. For years, this patch of ground had been starved of two vital forces: sunlight and water.
Because the deck covered the soil, the natural cycle of organic matter decomposition had completely ground to a halt. Furthermore, the weight of the structure, combined with years of foot traffic overhead, left the ground severely compacted.
Starting this project last winter, my goal was to transform this former dead zone near the house into a flourishing garden border by summertime. Here is exactly how I breathed life back into this lifeless soil and transformed it into a thriving, plant-rich border.
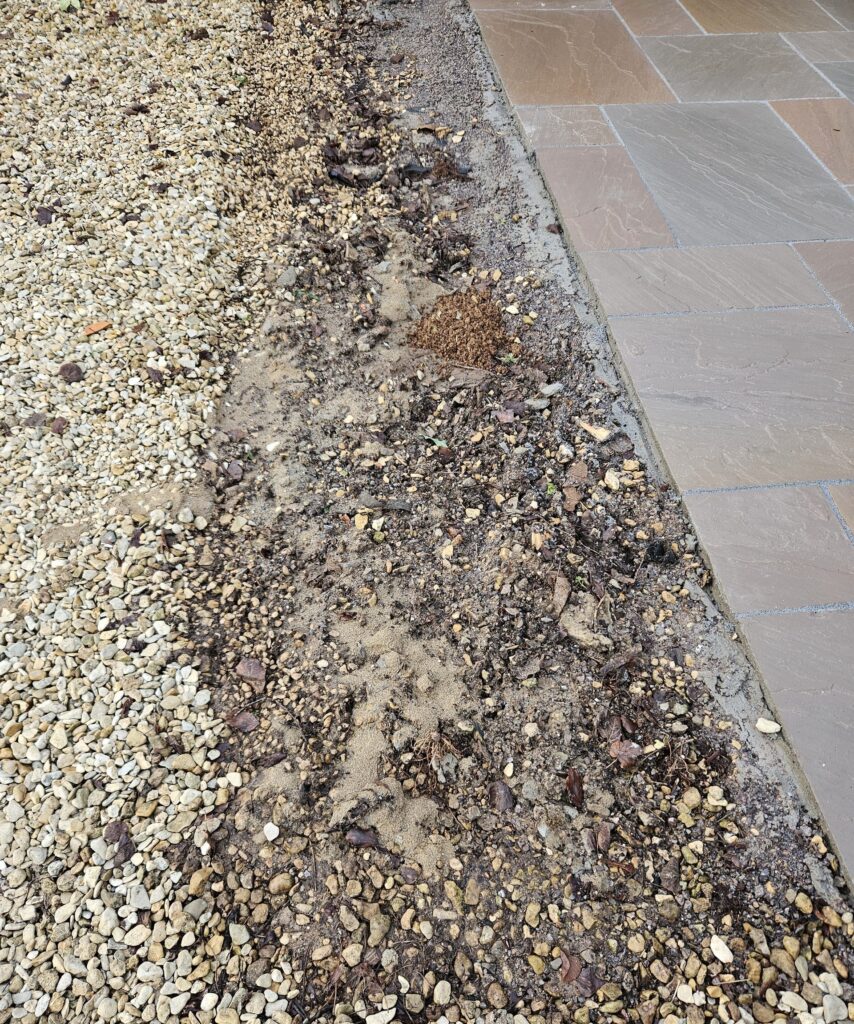
Phase 1: Deep De-compaction
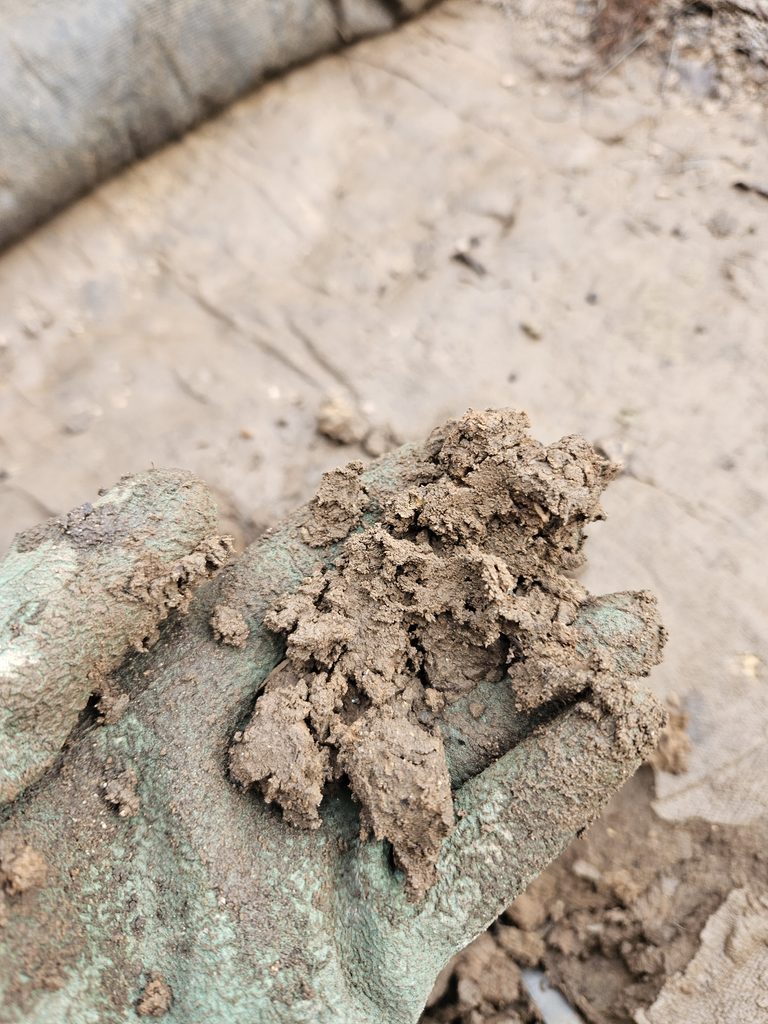
In other areas of the garden, I prefer to leave the soil undisturbed using “no-dig” methods. However, because the ground here was so severely compacted, I chose to use an initial deep cultivation. Our clay loam had become compressed; the clay particles had formed a solid, sticky barrier that trapped water, suffocated plant roots, and starved them of oxygen.
Using a sturdy garden fork, I broke up the ground to a depth of at least 20–30 cm (8–12 inches). Along the way, I encountered old concrete footings, bits of forgotten weed membrane, plastic, and building debris. Working my way along slowly, I removed as much of this debris as possible and broke down the large clods of earth.
Because I was doing this in the dead of winter, I stopped after the initial dig and allowed the rain and cold to continue loosening up the heavy soil naturally for a couple of weeks.
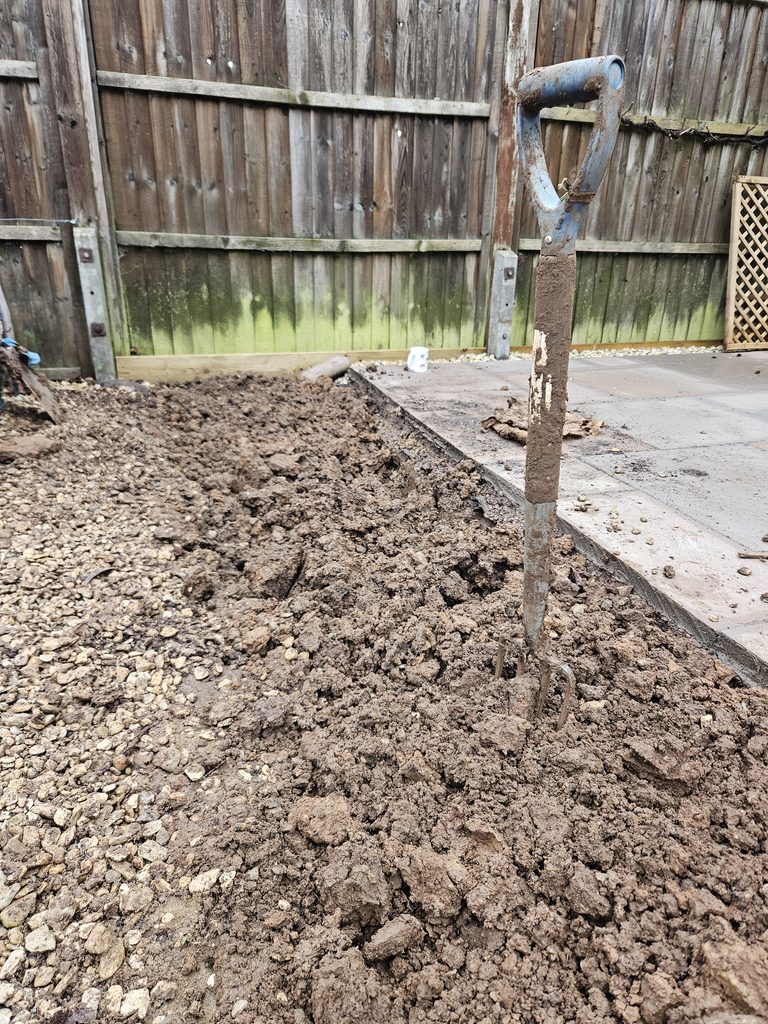
Phase 2: Restoring the Soil’s “Battery”
The soil under the deck was structurally and biologically depleted. It completely lacked the life—like bacteria, fungi, and earthworms—that keeps a garden healthy. I needed to kick-start this ecosystem by adding a massive dose of organic matter.
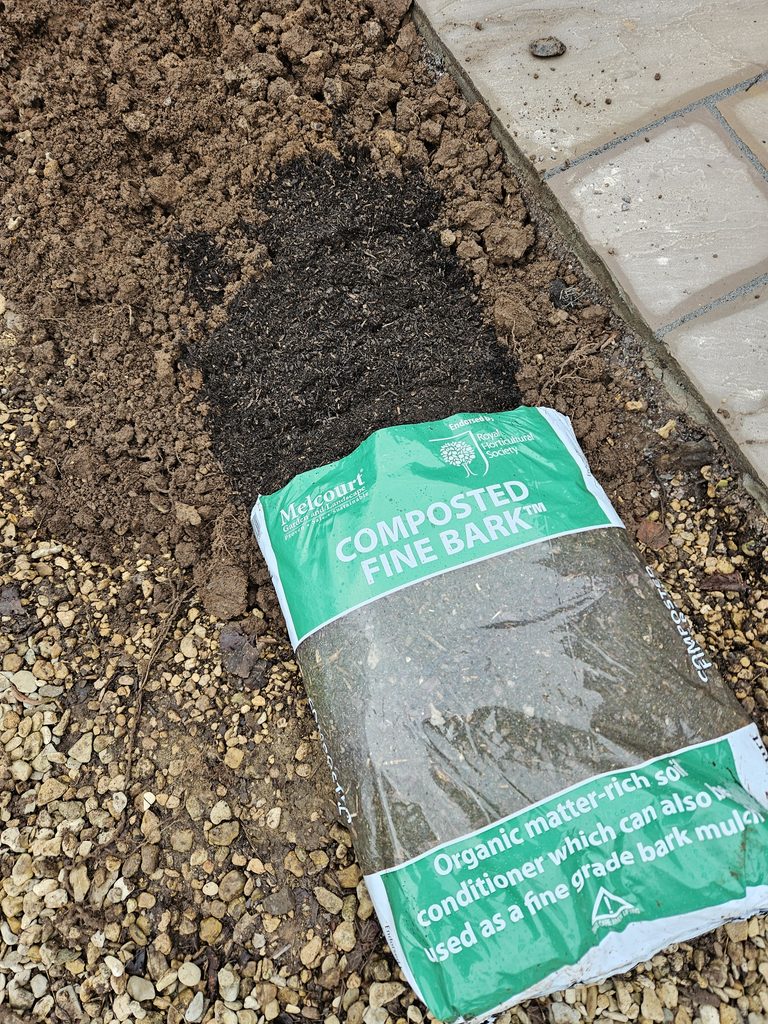
Because this soil had been starved for so long, I spread a thick 10 cm (4 inch) layer of organic matter across the dug-over surface. A combination approach works best here, so I used a 90:10 mix of:
– Melcourt Composted Fine Bark (90%): This added vital structure, helped to break up the clay, and introduced active, beneficial microbes back into the lifeless soil.
– Home-grown garden compost or leaf mould (10%): This was excellent for reintroducing vital soil fauna, such as earthworms and springtails, which recycle nutrients and improve soil structure.
Using my fork, I thoroughly blended this organic mix into the top 15–20 cm of the loosened ground. This completely changed the soil profile, creating a sponge-like texture that retains moisture while allowing excess water to drain away freely.
Phase 3: The Rest and Revive Period
Working in the winter meant there was no rush to plant the border immediately. Once the area was dug, amended, and raked level, I left it alone again for 2 to 3 weeks.
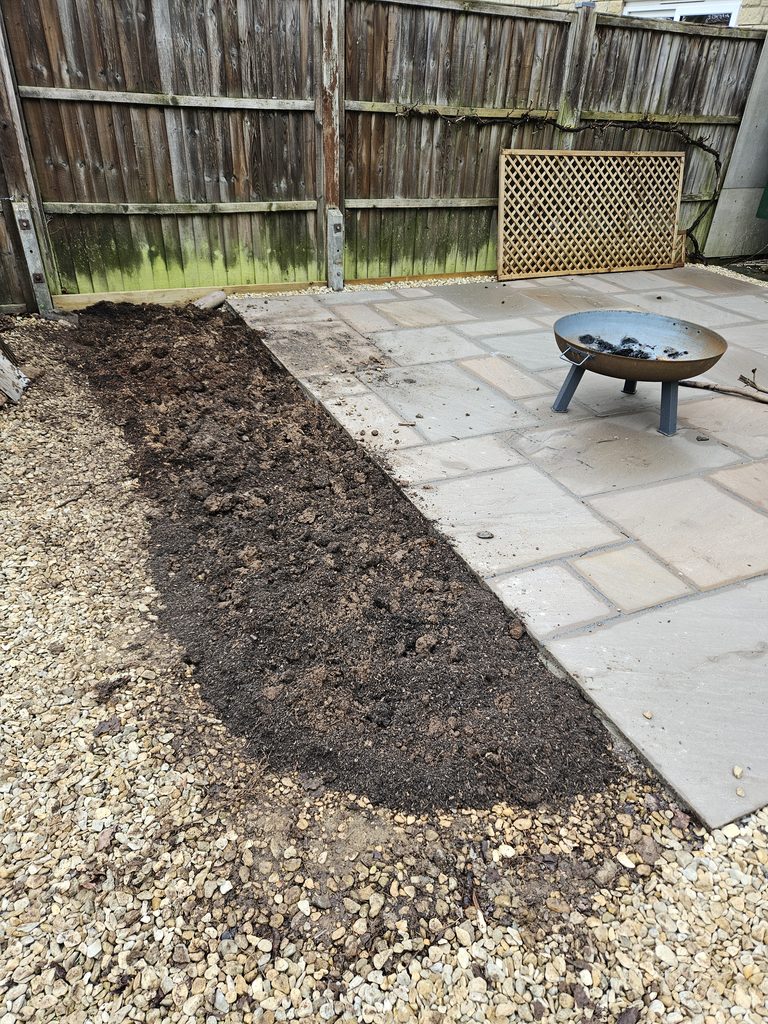
This waiting period allowed the ground to settle and naturally sink back down after being worked with the fork. It also gave me a chance to observe how rainwater behaved—ensuring it drained well and didn’t pool on the surface, which would indicate lingering compaction deeper down.
Most importantly, the introduction of moisture and organic matter acted as a beacon for local earthworms. They quickly moved back into the area, tunnelling through the soil and doing the fine cultivation work for me.
Phase 4: Summer Enjoyment!
By the time summer arrived, the reclaimed border was fully revived, nutrient-dense, and completely ready to welcome its brand-new plants.
Because this turned out to be a beautifully sunny border right up by the house, I packed it with Zinnias, tomatoes, Dahlias, Achillea, and Aster. The result was a stunning bed of vibrant summer colours—and plenty of sun-warmed tomatoes to pick right from the vine!